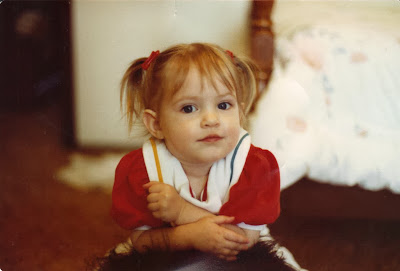
We've talked about how to organize your digital photos on your computer. But what about all your non-digital photos that are in albums or boxes?
We all have them. Printed photographs from before everything went digital. Whether they are being kept in old, sticky photo albums, boxes or envelopes, or even nice & well kept albums, there are measures you need to take to guarantee they survive long enough to show your grandchildren.
ESPECIALLY the photos kept in those old, sticky photo albums. You know what I'm talking about? The pictures stick into place and then there is a plastic covering to help protect the photos. GET THEM OUT! Look how yellow this album has become. That stickiness is toxic enough to start eating through your precious photographs. If they've been in there a long time, you can have a horrible time getting them out. I've heard dental floss helps....possibly even heating the page a little with a hair blow dryer and using the dental floss.
Even if you have a high quality album to hold your photos, you will want to at least get them scanned so that if something happens to the album, they won't be lost forever. Plus, it's fun to be able to share them digitally, like putting one of my wedding and baby photos in this blog post! haha

Here are 5 steps to help preserve your non-digital photos and get them ORGANIZED:
1. SORT the photos and decide if any can be thrown away. I would suggest either sorting them by person or by year. However you think you would like them organized.
2. SCAN THEM. Why? First, it will give you extra copies of your photos, just in case something were to happen to them. Second, it allows you to share them digitally, whether through social media or by making a slideshow or online photo album. I have had friends email me old photos from college and it's so fun!! A great way to share! I understand many of you will have your photos in SCRAPBOOKS. Yes, these still need to be scanned, but instead of tearing your scrapbook apart, you can just scan the entire page. I will do another post on this later.
If you have a scanner at home, scanning your own photos can be easy....it just takes some time. If you don't, you can invest in one or pay someone to scan them for you.
3. DECIDE if you want to keep the originals or throw them away. After all, if you have them on your computer you can always print them again if you ever want to.
4. LABEL them. Do a quick label on the back...at least the name and year. I don't know how many photos I've found in my grandma's house that I have no idea who is in them! Very frustrating! If you are throwing away the originals, then you still need to keep them organized on your computer.
5. DON'T LEAVE THEM IN A BOX. It doesn't matter what you do with them, and it doesn't have to be fancy, but make sure they don't stay forgotten in boxes. For ideas, check out my last post, "DO something with your photos".


No comments:
Post a Comment
Thanks for sharing!! I really appreciate it!